We’ve made it super easy to turn any bottle into a personalized keepsake! Follow these simple steps for the best results:
Step 1: Prep Your Bottle
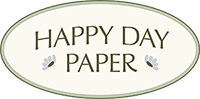
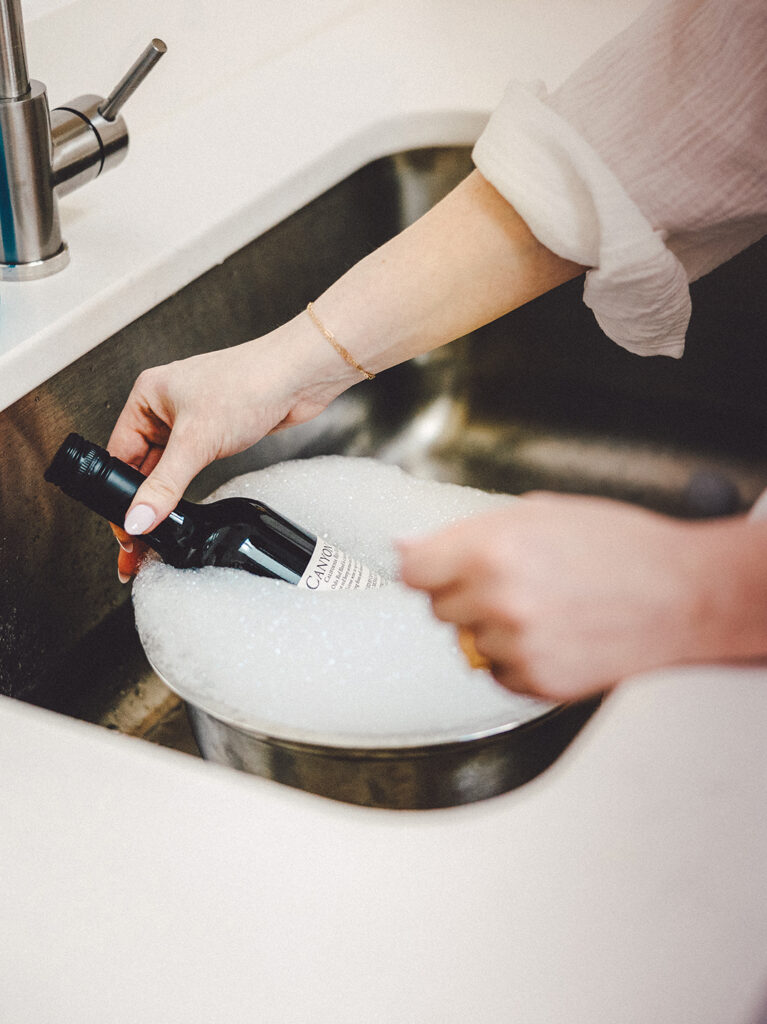
Start with a clean surface so your new label sticks perfectly. Fill your sink or a tub with warm, soapy water. Soak the bottle for about 10–15 minutes to loosen the original label. Gently peel it off, then remove any sticky residue with a sponge or rubbing alcohol.
Dry the bottle completely before moving on.
Step 2: Get Ready to Apply
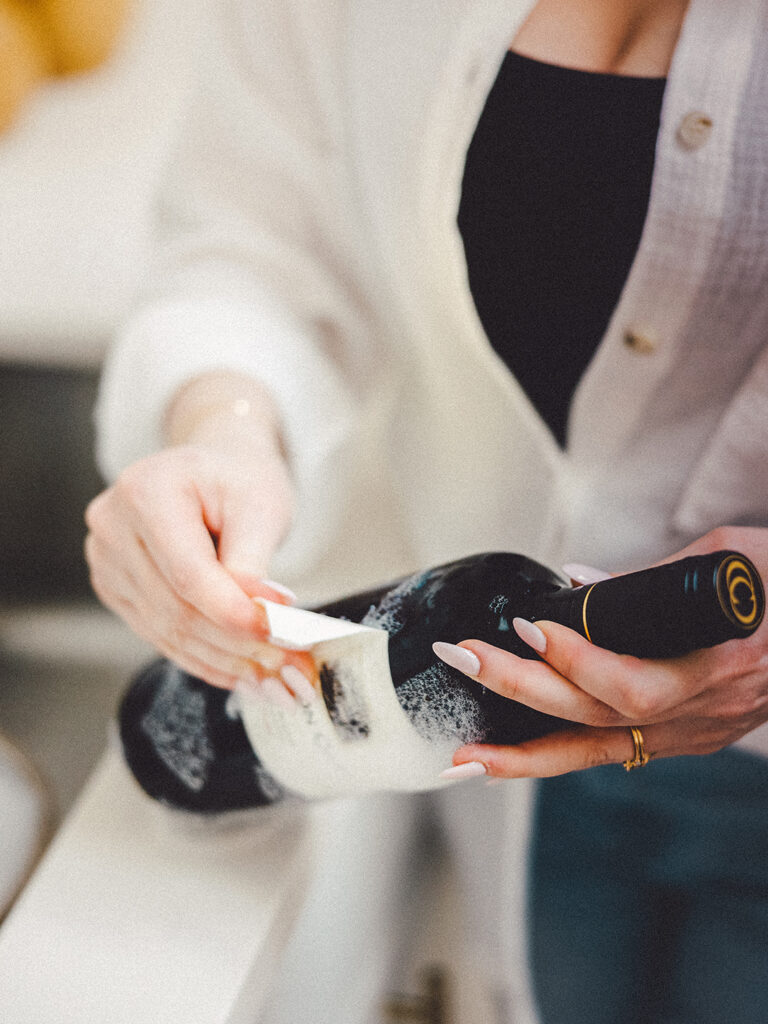
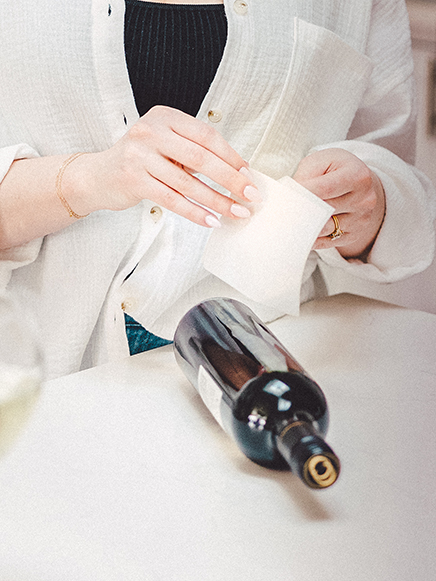
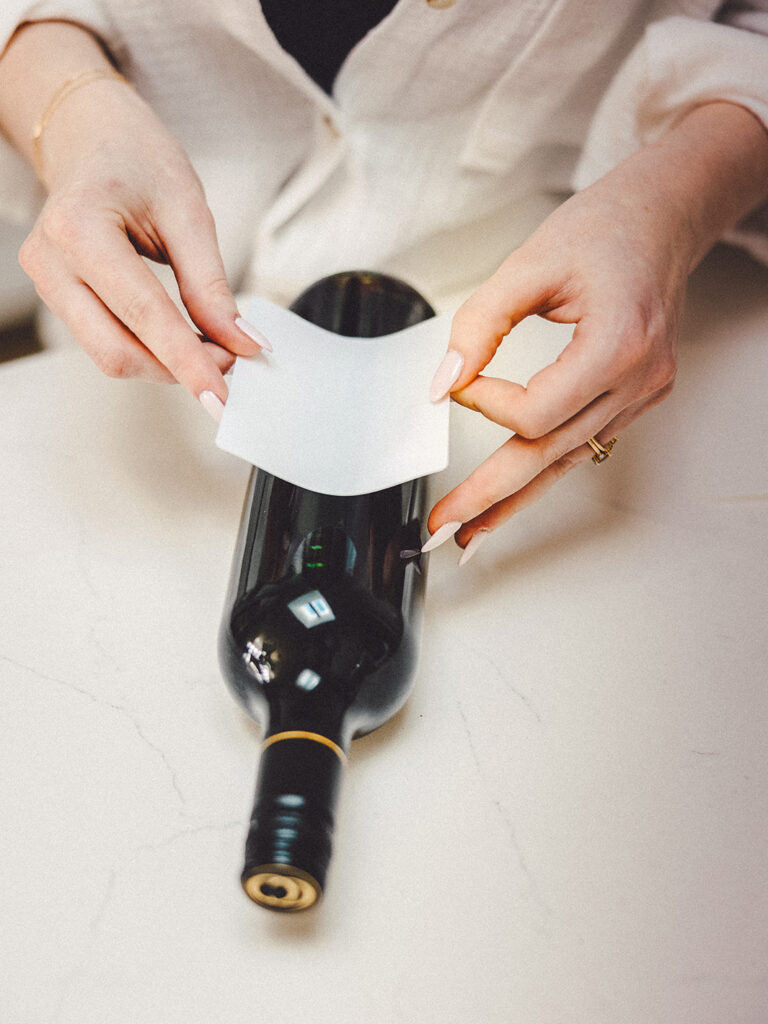
Lay the bottle flat on a towel so it doesn’t roll away. Peel your new label from the backing and hold it in a U-shape—with the middle section slightly lower than the sides.
Step 3: Stick It On
Line up the label where you want it. Press down the center first, then smooth outward toward each side. This helps avoid bubbles or wrinkles for a smooth, professional look.
Step 4: Cheers!
That’s it! Your bottle is officially party-ready. Snap a pic, tag us at @HappyDayPaper, and show off your custom creation — we love seeing your happy days come to life!
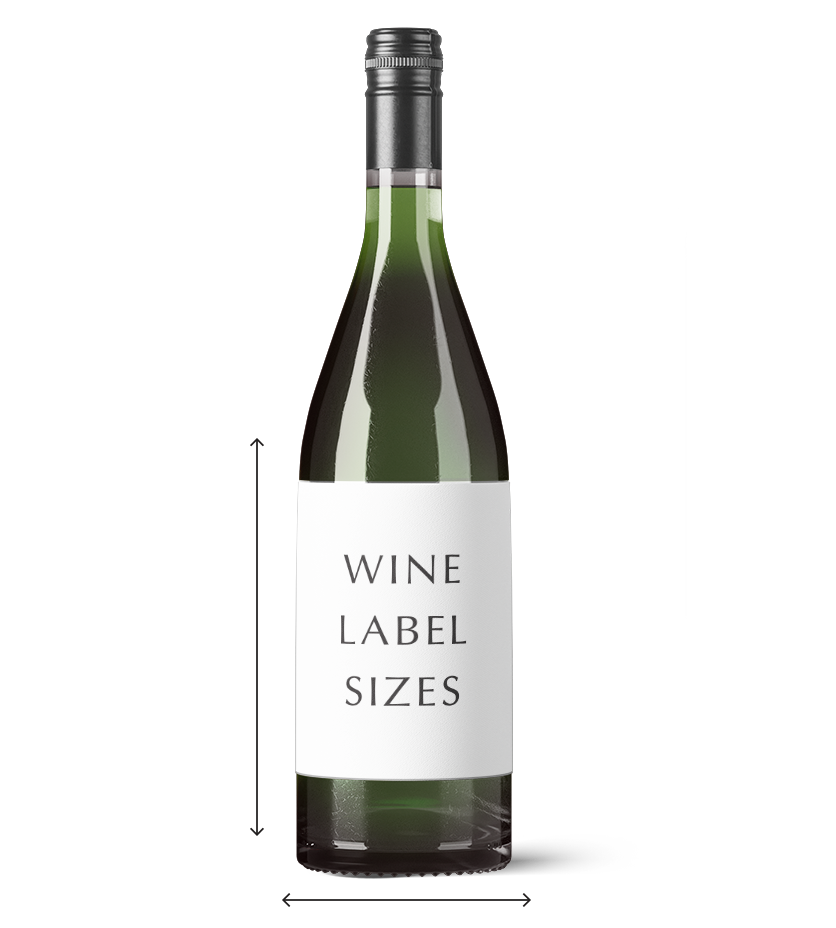
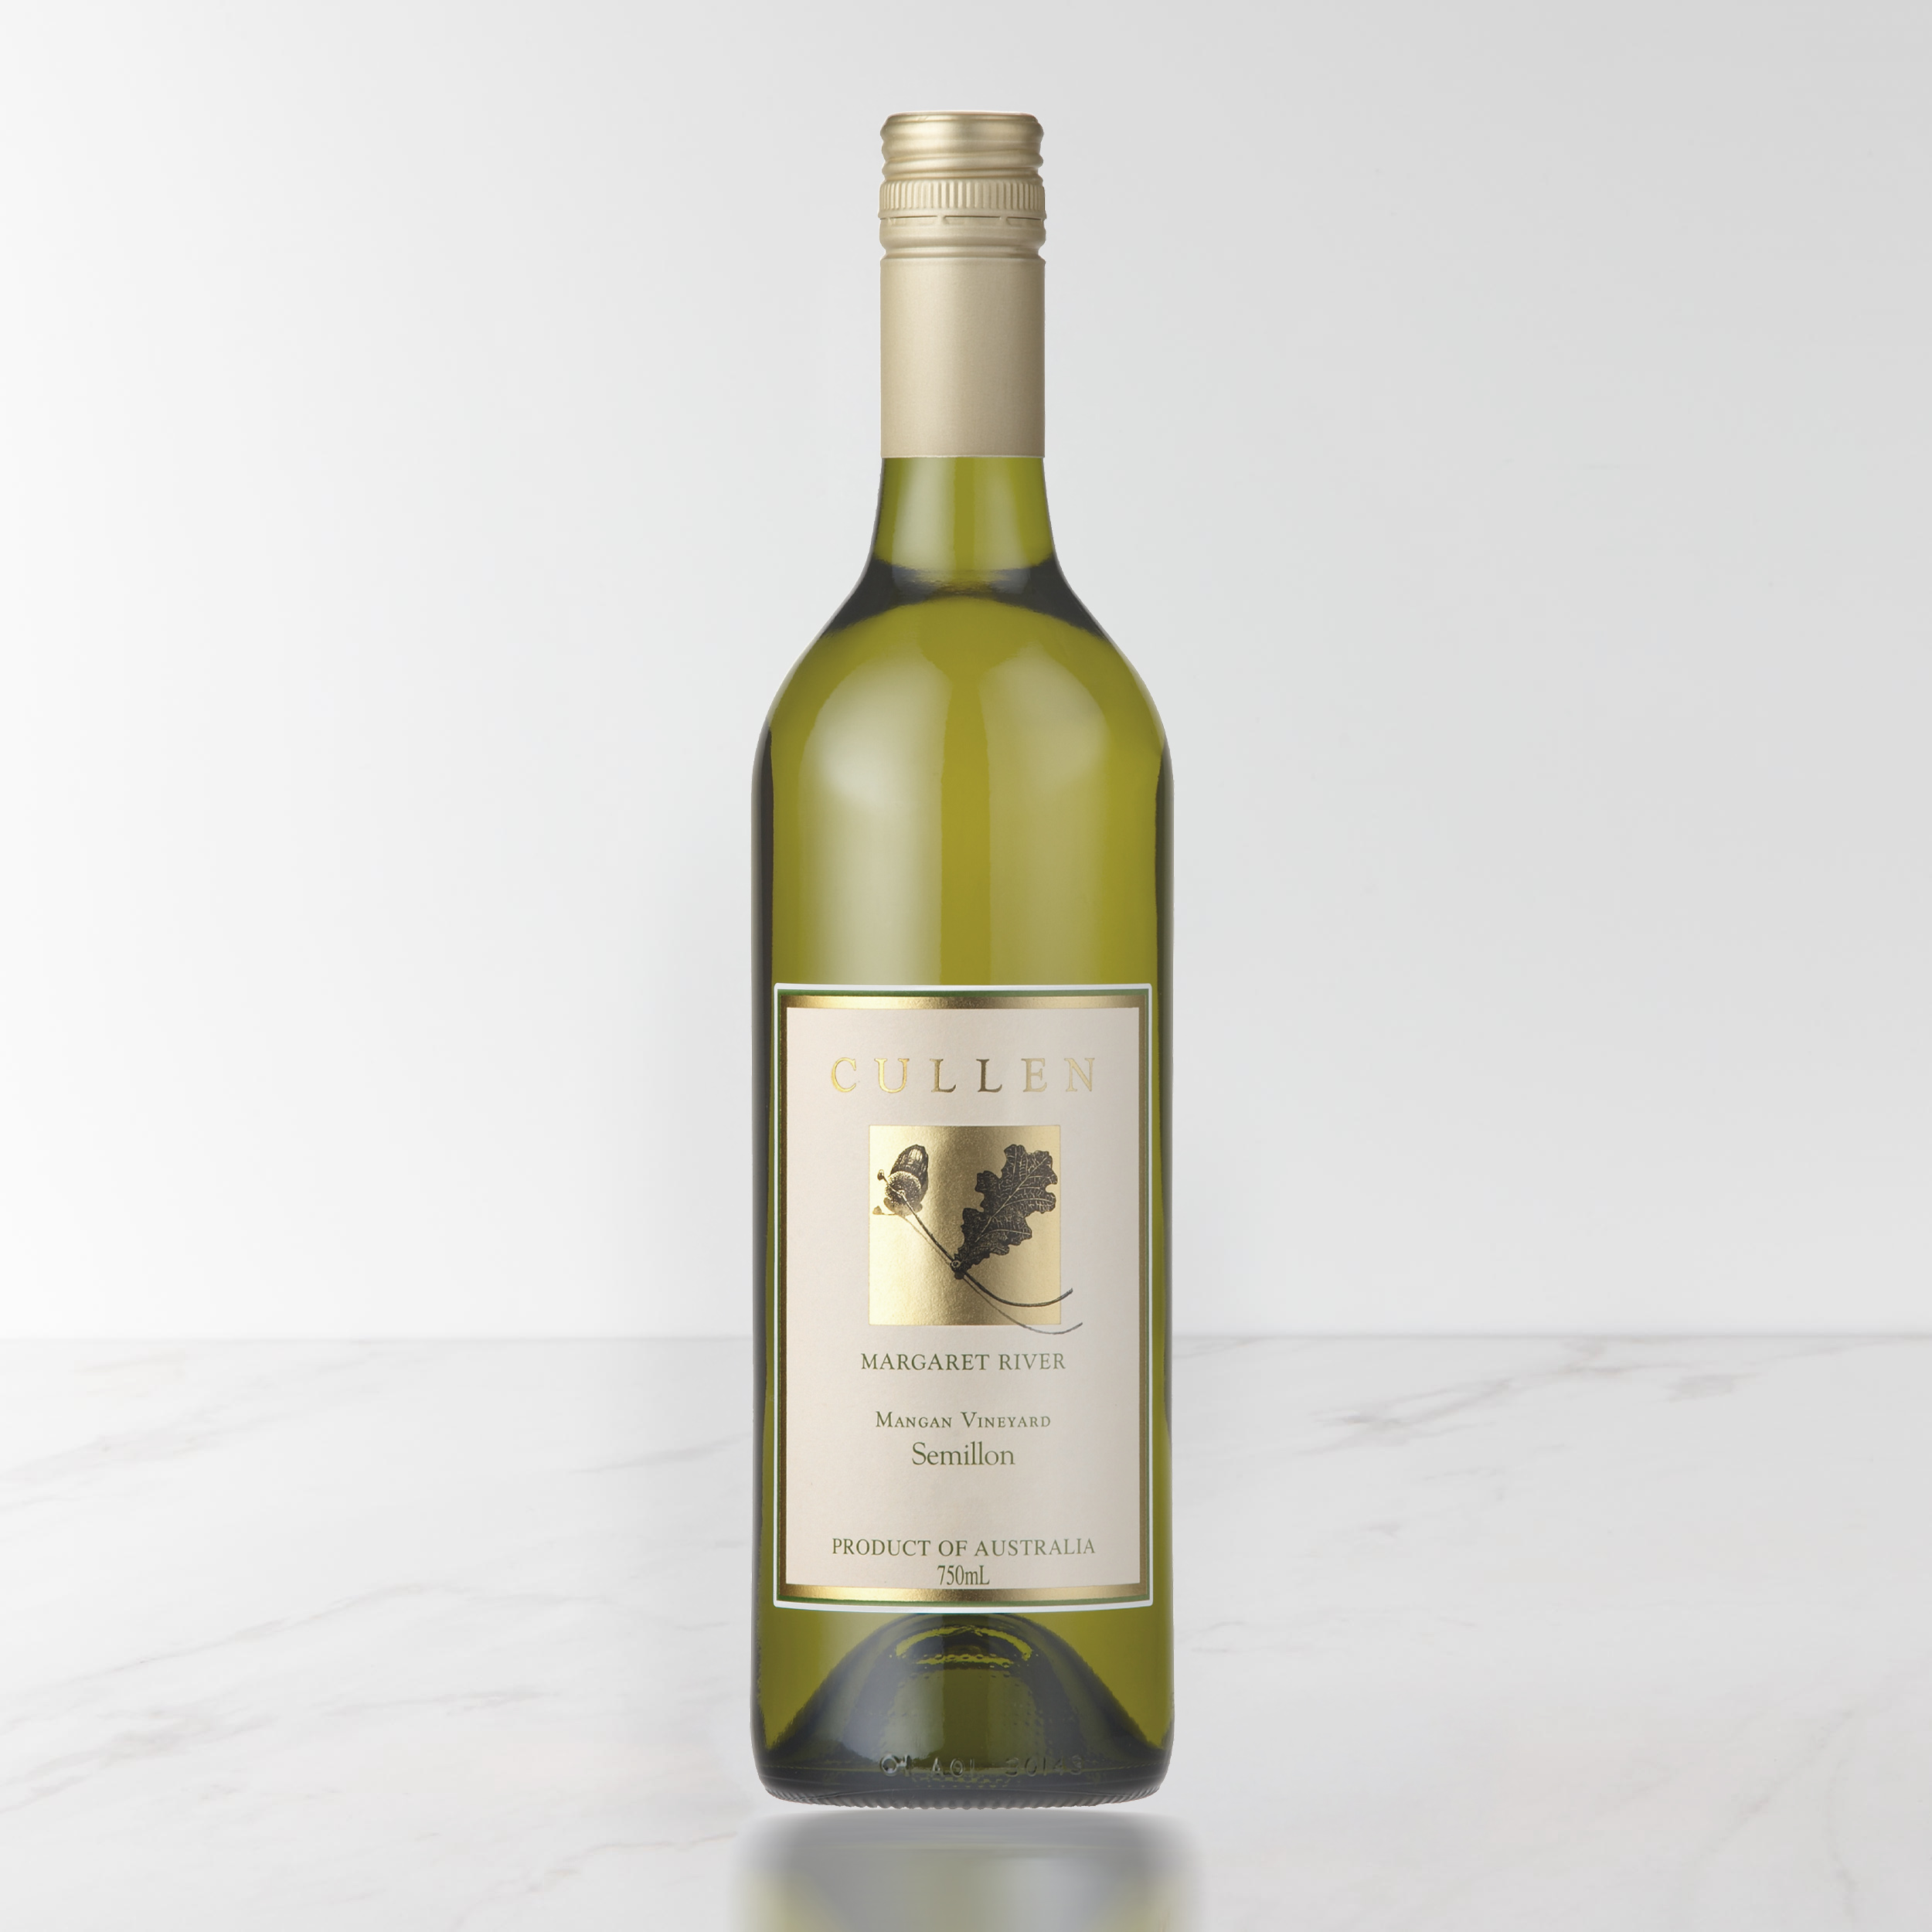
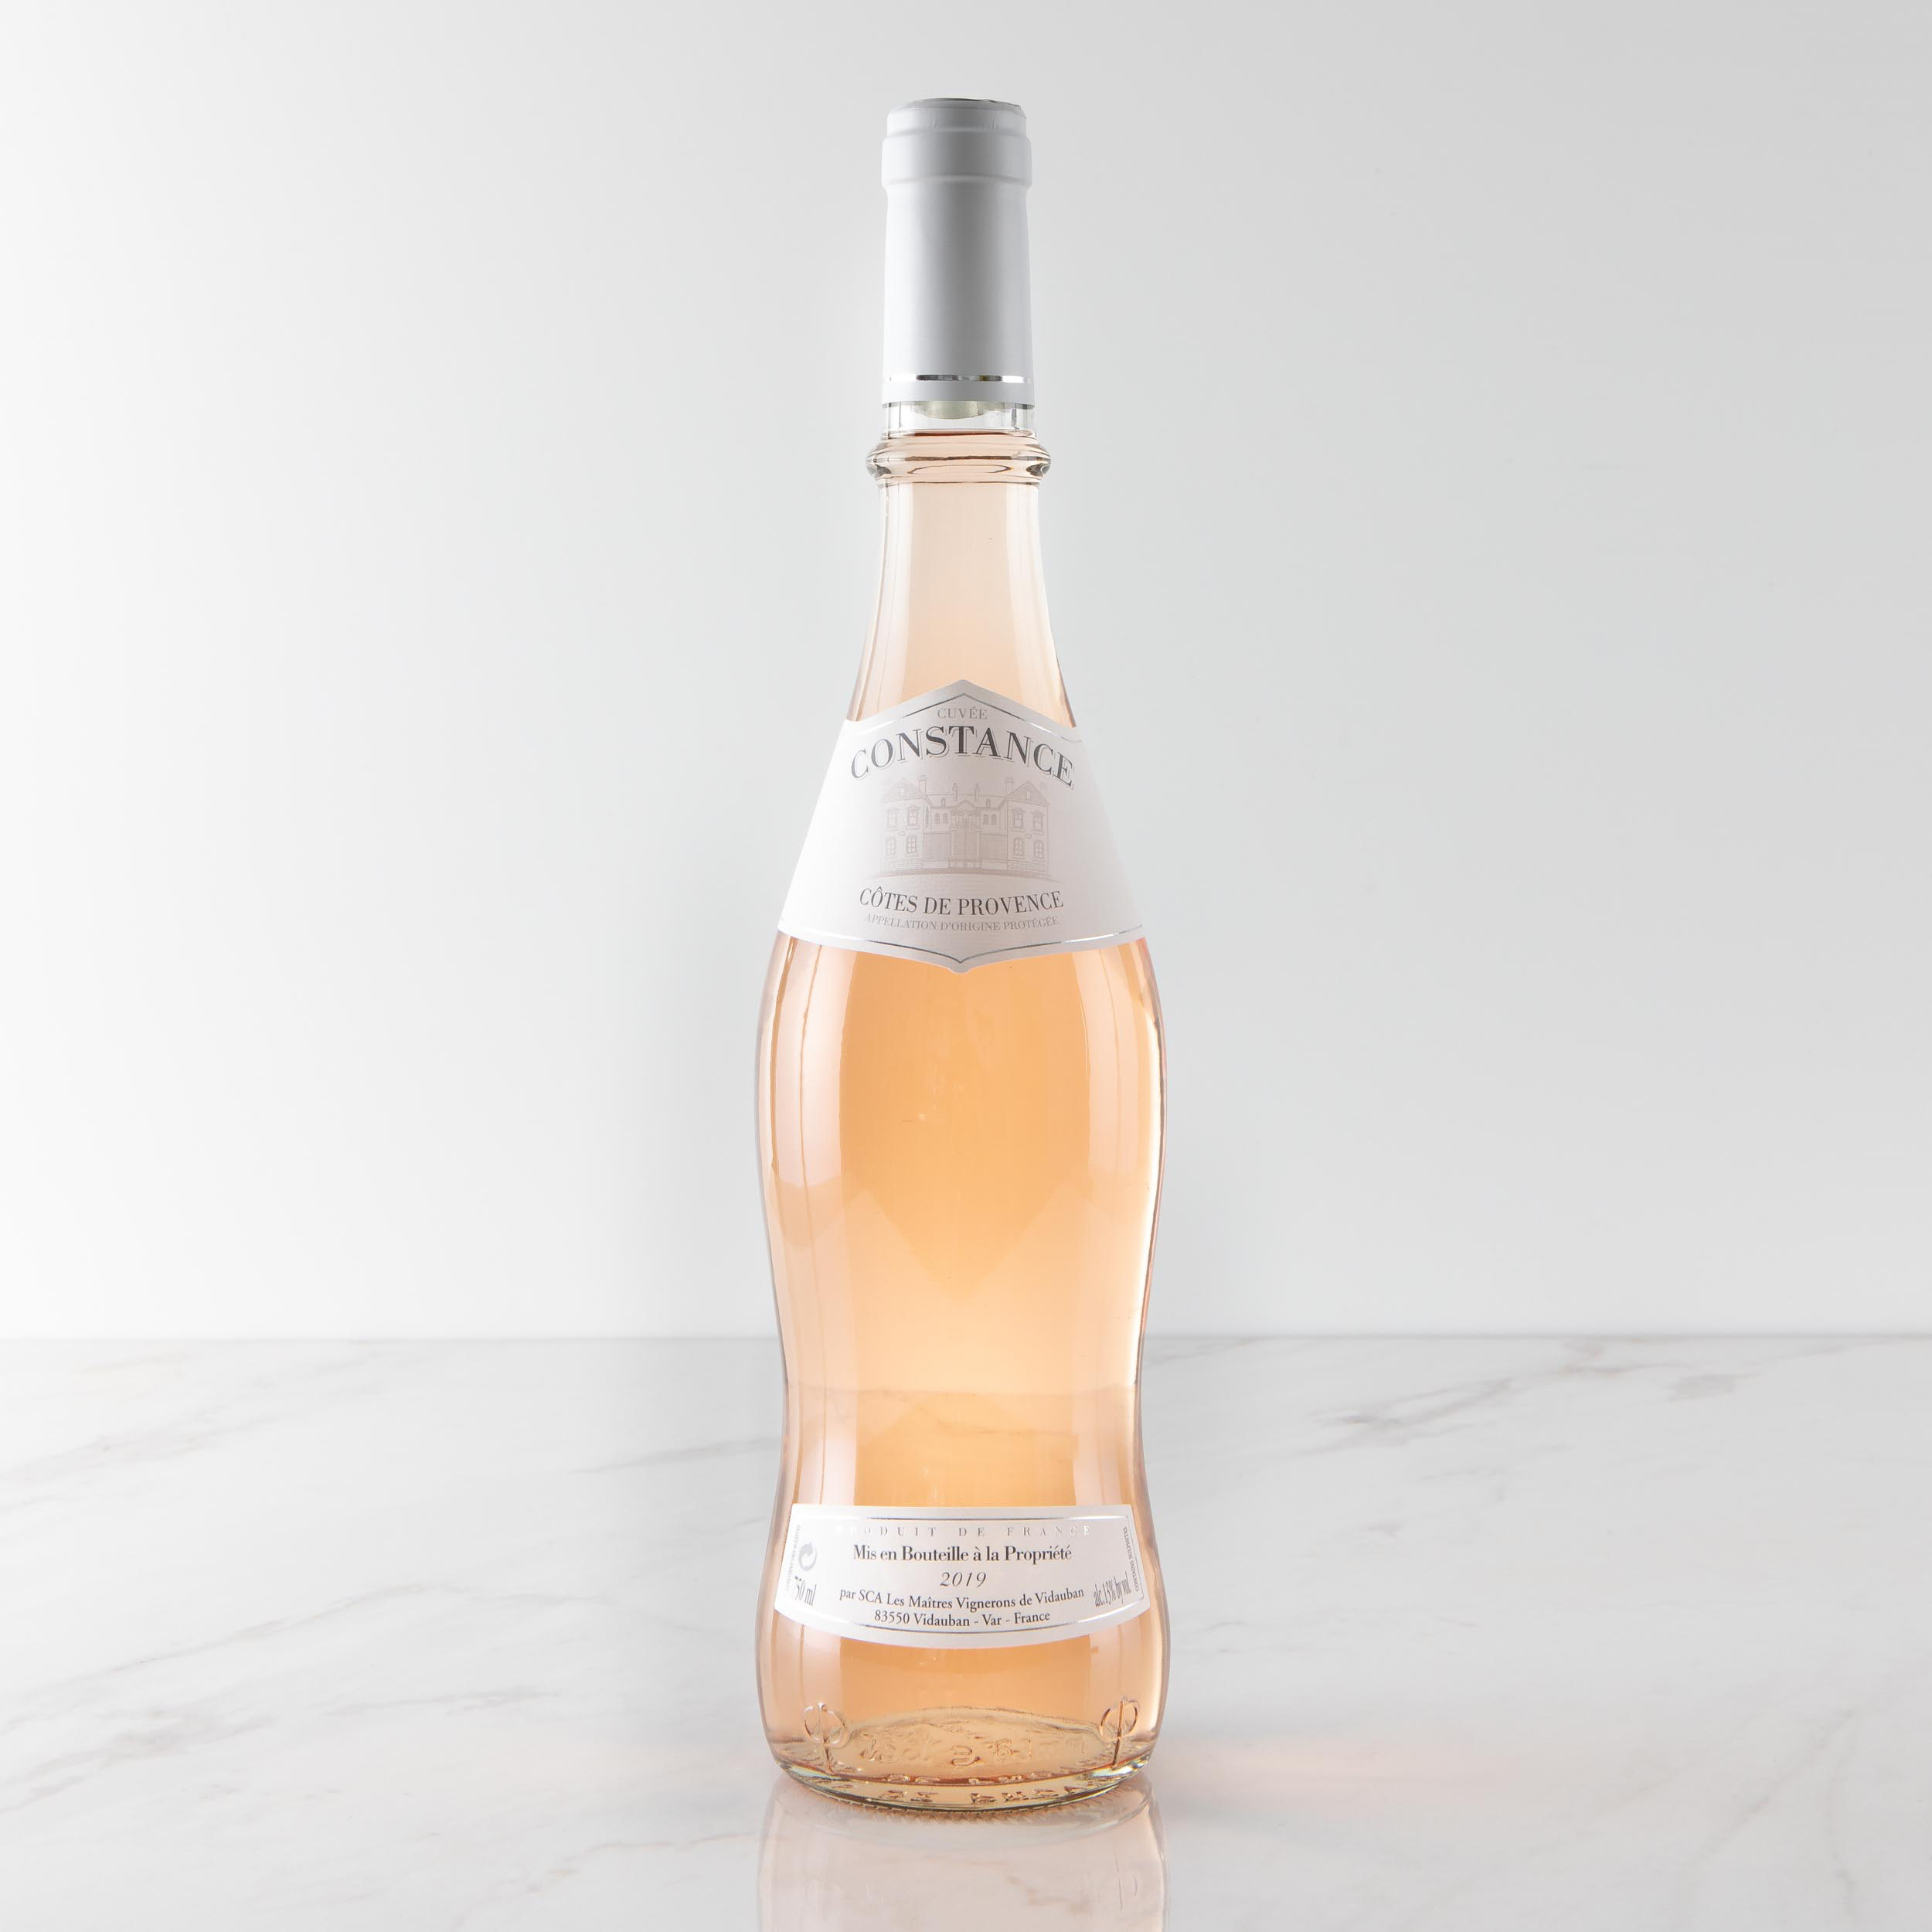
BOTTLE + LABEL SIZING
When it comes to wine, size matters.
Selecting the right sized label for your bottle is key for making your bottles look like the real deal.